回复
技术宅C++自制3D坦克大战,渣技术,轻拍
作者:woflow
[attach]323315[/attach][attach]323316[/attach][attach]323317[/attach][attach]323318[/attach][attach]323319[/attach] 3D游戏课程。。1个月的应付作业 =,= 语言:C++ 游戏引擎:OGRE 物理引擎:半径渣检测查看回复就算是黑乎乎的 Linux 命令行只要有爱也能做音画同步 MAD~!
作者:neuront
[i=s] 本帖最后由 neuront 于 2014-8-2 14:18 编辑 [ 之所以发在程设区而不是软件区, 因为此项目尚未成熟, 姑且能用的水平. 项目地址: https://github.com/neuront/madmagia 整个项目代码用纯 Python 开发, 与视频音频剪辑有关的部分全部是 Python 调用命令行 avconv/mencoder 完成的 ] 你是否有非凡的乐感, 听到一首歌就本能地联想到最近另一部动画里的场景, 然后脑补说这可能能做个音画同步 MAD, 可惜, 用的 Linux, 使不了那些花哨的视频制作工具, 这事情抑郁了一阵也就这么过去了? 没关系, 现在你在 Linux 下面一样可以尝试你想要的东西, 不需要满世界去找一套卖 998 的正版软件的注册码, 只需要打开一个命令行, 安装一些基本的开源软件, 以及 madmagia 项目, 然后打开一个你觉得顺手的文本编辑器开始编辑视频脚本, 你就可以开始做 MAD 了! (注: 本文决不是标题党, 但提前有一点需要说明, 虽然做 MAD 可以仅仅在命令行下用文本文件 + 脚本完成, 但是观看制作的成果最好还是在图形界面下) 这东西靠谱不靠谱, 要先看结果再考虑入不入坑. 如此 http://www.bilibili.com/video/av1199221/ 是楼主 (也就是视频 UP 主, 求戳求围观求调教) 做过最同步的了. 要是这都无法满足的话, 那楼主一会儿也没法了. 原理. 首先, 音画同步 MAD 要做的事情是找一个歌曲作 BGM, 然后根据该歌曲去找到不違和的动画场景, 实际上也就是- 选出很多片段, 每个片段来自一个动画原片
- 再把所有这些片段串联起来 (特效另说)
- 最后附上 BGM 音轨
一共三步; 要完成第一步, 有个神奇的开源项目叫 avconv (衍生自大名鼎鼎而且同样神奇的 ffmpeg), 这个项目允许开发者使用一行命令行指令从一个视频中剪切出一小段内容, 具体方法是
- avconv -ss 片段开始时间 -i 输入视频文件 -t 片段持续时长
不用多说, 这个方法虽直接, 但是一个 MAD 动辄上百个片段, 每个都手动打一遍这个命令会非常麻烦, 因此, madmagia 项目的核心就是利用一个解析器将一个结构更简单的顺序脚本文件内容转换成上面那样的指令的序列, 并自动调用 mencoder (另一个神奇的视频编码解码项目, 名满天下的 mplayer 就是此项目的应用程序之一) 合并这些片段和 BGM, 比如, 以下两行
分别表示从第 2 个视频第 10:30 秒剪出 5 秒, 然后接上从第 4 个视频第 00:20 开始的 2 秒. 通常一个视频需要编写相当长的脚本, 比如上面给出的示例视频共有接近 300 个片段, 完整脚本文件参见这里. 因为 MAD 往往会长达好几分钟, 因此引入了分节机制, 允许仅制作从长长的脚本中仅选出一部分制作, 观看, 调试, 节省时间. 具体的用户应用文档戳这里. 现状. 目前项目的短版是缺乏特效, 主要原因是没找到合适的 avconv 参数. 已经支持的简单特效包括- 播放某一帧内容
- 拉长/缩短一段视频内容以与音频同步
- 水平翻转视频画面内容
而不支持已知的 BUG- 视频编码器 mpeg4 (目前已测试对其它视频编辑工具兼容性最好, 而且短分镜最同步的编码器) 对某些 mp4 文件不支持; 在这种情况下, 建议使用同样画质的 Mkv 原片
因此, 功能上求 avconv 大触现身指教. 代码部分, 目前整个项目采取 pypi 安装的形式, 如此一来只要用 pip 或 easy_install 安装的话会自动生成可执行文件, 很是方便. 源码目录 https://github.com/neuront/madmagia/tree/master/madmagia 下文件简单说明 核心部分- video_slice.py 视频分割, 画面提取的实现
- audio_slice.py 音频分割的实现, 测量音频文件长度也在这里
- sequence.py 剪切脚本文本分析实现
- avmerge.py 视频音频合并
- shell.py 对 Python 的 Popen 函数的同步化封装
应用程序入口- config.py 配置文件解析
- init.py 初始化, 新建空目录和样例文件
- partial.py 视频分段输出, 长度检视, 片段导出
- view_frame.py 视频单帧查看
- export_srt.py 输出 SRT 字幕或 LRC 歌词
最后, 欢迎调教. 有任何对代码或使用上的问题均可直接戳回复. 此外, avconv/mencoder 已经有 windows 版本, 有欲移植 windows 平台的同好, 亦可直接回复移植过程的问题, 某必尽力相助.查看回复【教】明明人家才是最萌的设计模式(10.27更新)
作者:dxxds
[i=s] 本帖最后由 dxxds 于 2013-10-27 10:55 编辑 自从第一个教程帖完结后,就偷懒没再发第二贴了。原因也是有的,其中最大的原因就是因为…… 因为空撸伤身什么的造成我一直没有再发新帖。 当然这次发了,也并不是说我就有了,我依然没有。你们是想说我有基友了么?#16t 你们!你们实在是!是!太!了解我了! 嗯,好基友也是没有的。 好了,先复习一下之前学过的一个内容吧:继承。 就是在情人节的那天,用一个父类指针创建一个子类对象,当然,这个父亲有好几个孩子,他可以随便选则是自己变成哪一个,或者轮着变一圈,然后…… 这就是策略啊策略!别说我无耻啊!这设计模式里就是这么写的! 然后就上来我们今天的第一课内容了:策略模式! 是有人想问我为啥不是从工厂模式开始讲?别的书都是从这个开始的…… 切!库达拉那医 …… 那样不就显得我很不专业么,显得我是抄他们的了么?所以我换一个。 这个策略模式,就是说会随着环境的变化,自己的策略也会有相应的变化。之前继承的课程里就用策略模式 今天出门 如果晴天,就去拿棒棒糖换萝莉。 如果是阴天,就去基友家撸PSP。 如果是下雪天,就自己撸代码。 先上这个熟悉的代码模板 #include<iostream> using namespace std; int main() { return 0; } 默认编译环境是WIN下的C-FREE和VS2005以上。(C-FREE好像用的就是我的VS编译器…… 主要是我的DEVCPP很严重的坏了,然后我又懒的修复…… 想来这点基础C++,语法应该都是一样的) 然后在这个基础上,添加一个纯洁的父亲类 class I_evil //纯洁类 I表示interface { public: I_evil(void){}; //构造函数,用来创造纯洁 virtual ~I_evil(void){}; //析构函数,当然是删除纯洁 virtual void strategy(void)=0; //虚函数,执行那纯洁的策略 }; 然后我们来写这第一个策略 class C_sunshine : public I_evil //公有方式继承父类,为什么公有,因为好用 { public: C_sunshine(){}; ~C_sunshine(){}; //是虚的,不过virtual可以不用写 void strategy(void) //也是虚的,virtual写不写都一样,一般要写,因为整齐,可读性好 { cout<<"去拿棒棒糖换萝莉"<<endl; } }; 注释写的很清楚了,我就接着写第二第三个了 class C_cloudy : public I_evil //第二个策略,继承纯洁 { public: C_cloudy(){}; ~C_cloudy(){}; void strategy(void) { cout<<"去基友家撸PSP"<<endl; } }; class C_snow : public I_evil //第三个策略 { public: C_snow(){}; ~C_snow(){}; void strategy(void) { cout<<"独自撸代码"<<endl; } }; 然后就该执行了 int main() { I_evil* Evil_Father = NULL; //一个纯洁的爸爸,main函数里,全程就只有这一个变量 cout<<"第一天,晴天"<<endl; //第一天开始了 Evil_Father = new C_sunshine; Evil_Father->strategy(); delete Evil_Father; //第一天结束了 cout<<"第二天,下雪"<<endl; //第二天来了 Evil_Father = new C_snow; Evil_Father->strategy(); delete Evil_Father; //第二天过去了 cout<<"最后一天,阴天"<<endl; //第三天也来了 Evil_Father = new C_cloudy; Evil_Father->strategy(); delete Evil_Father; //第三天结束了 system("pause>nul"); // stdlib.h 或者 cstdlib return 0; } 今天开斋节,小放假 内容简单易懂,看完回一下这个好帖子。 当然,不懂的就更要回一下这个0售价的好帖子了啊!!查看回复SDL游戏编程(附教学网址,只有流程)更新至7.箭头
作者:scropioczn
[i=s] 本帖最后由 scropioczn 于 2013-6-29 13:38 编辑 由于本人留学党教程一路全英文,与国内术语不符的请指出莫吐槽……另外有不清楚的地方或者有问题当然踊跃举手啦~@@25!! 1发:1.架构 -> 6.第一次调试 6发:7.箭头 -> ?.第二次调试(规划) 教程传送门:SDL tutorial by Lazy Foo 以下正文。在此强调本文所涉及的程序的执照是GNU GPL。 介绍: 最近新来技术宅社区,当然直奔编程版块没的说。两点吧。一点是太冷清…… 二是左算法右算法…… 不要被那些玩意儿塞满了,编程没点乐趣肿么搞下去?当初我也是闲着无聊去一个国外神论坛(下附链接)搜C++能干吗,然后找到了SDL的。所以我决定扩散SDL!各路大神求支持啊~ 简单介绍下吧。SDL即为Simple DirectMedia Layer。跟字面意思一样,这个API理念很简单,就是把图片啪地贴到屏幕上去……当然了,除了图像部分还包括了按键操作,时间,音效的处理,所以可以直接进行2D,伪3D(或2.5D吧?)游戏开发。所以像什么俄罗斯方块啊什么的都大丈夫~ 当然,如果你对3D游戏制作非常感兴趣(大概一般人都会感兴趣吧?),不用慌。SDL支持openGL,即为目前主流图像处理API。当然真正做3D游戏的话,还是用引擎比较方便哈~ 戳这里,SDL网站,包括doc,下载,示范什么的 戳这里,国外神论坛,英文好的来哈~ Dream.In.Code 已经练手编了两个程序,第一个是个一个算法的demonstration,另一个是真正的游戏~ 不过正好赶上一朋友生日,做了个特别版的…… 所以正好借此机会搞个普通的release版本。 所以嘛,这个游戏叫做Mastermind。中文翻译叫珠玑妙算。估计有些人应该玩过……当然原版是个桌游,要两个人,一个人设置答案,另一个人猜。我这里就不高那么烦了,设置答案的人就电脑吧。所以规则就是电脑随机生成一个组合,该组合由四个球组成。每个球有5种不同的颜色(在想后面可以搞个难度等级,改成6种或4种之类的)。一个组合中的球的颜色可以重合。然后用户来猜。输入是不同组合,然后电脑会根据你给出的组合来给予提示。提示由两个数字组成,中间以斜杠(/)相隔。第一个数字是表示与答案中的球颜色相同,并且在同一位置的球的个数;第二个数字表示的是与答案中仅仅颜色相同的球的个数。并且,答案中多出来同样颜色的球将不算在内。 比如,答案是: 蓝绿黄红 回答是:红黄紫红 给出的提示就是:1 / 1 因为:一个红球位置正确,一个黄球颜色正确,而第一个红球则不计考虑。 好啦,终于介绍完啦,那么我们开始码代码吧~ 1.环境设定 所选IDE是Eclipse Juno。擦……刚上了下官网,发现新版本Kepler(v 4.3)已经发布……各位感兴趣可以下下来用用。编译器(compiler)当然是咱大GCC的minGW。 工程起名叫MastermindA。A是animated。原来做了个单纯算法,所以这个是动画版。 由于我不准备做声效,所以只要在library里面加上SDL以及image和ttf的就行了。 下面有附图。 2. 架构 经过GTGE(java上的一款比较容易的游戏编程API)的实践,以及两次练手,我总结出了一个SDL的基本框架。 首先创建mainGame.cpp(包括main),Variables.h(常用量),Types(typedef的各种),GHeader.h(所有的header文件都会在这边包括一遍,主要是为了在mainGame里面看着简洁=。=),和Core.h(架构核心,后面补上cpp)。 main先不着急,先放一边。先写Variables.h吧,就那么几个常量,后面可以再优化。 Variables.h [mw_shl_code=cpp,true]/* * Variables.h * * Created on: 2013-06-26 * Author: scropioczn * Description: This is the header file for general constants. * Version: */ #ifndef VARIABLES_H_ #define VARIABLES_H_ #include "SDL/SDL.h" #include "SDL/SDL_image.h" #include "SDL/SDL_ttf.h" //Screen specs #define SCREEN_WIDTH 1024 #define SCREEN_HEIGHT 720 #define SCREEN_BPP 32 //FPS and elapsed time #define FRAME_PER_SECOND 60 #define ELAPSED_TIME 17 //Color macro #define RED 11 #define YELLOW 12 #define BLUE 13 #define GREEN 14 #define PURPLE 15 #endif /* VARIABLES_H_ */ [/mw_shl_code] 在本程序中,暂时用到两个新定义的变量类型,一个是Stage(阶段),另一个是BallColor(球的颜色)。 Types.h [mw_shl_code=cpp,true]/* * Types.h * * Created on: 2013-06-27 * Author: scropioczn * Description: This is the header file for custom variable types. * Version: */ #ifndef TYPES_H_ #define TYPES_H_ #include "SDL/SDL.h" #include "SDL/SDL_image.h" #include "SDL/SDL_ttf.h" typedef enum { intro, tutorial1, tutorial2, game, end }Stage; typedef enum { red, yellow, blue, green, purple, colorless }BallColor; #endif /* TYPES_H_ */ [/mw_shl_code] Core.h [mw_shl_code=cpp,true]/* * Core.h * * Created on: 2013-06-27 * Author: scropioczn * Description: This is the header file for the core of the game. * Version: */ #ifndef CORE_H_ #define CORE_H_ #include "SDL/SDL.h" #include "SDL/SDL_image.h" #include "SDL/SDL_ttf.h" bool init(); bool update(); void render(); void cleanUp(); #endif /* CORE_H_ */[/mw_shl_code] 这就是我所总结的核心部分。第一个是初始化,第二个是更新,第三个是显示,第四个是运行完后的清理。更新的话简单来说就是游戏运行时一切除了显示部分的东西,笑。 然后是GHeader.h 以后每创建一个header file都加进来就好了。目前就只有三个。 [mw_shl_code=cpp,true]/* * GHeader.h * * Created on: 2013-06-27 * Author: scropioczn * Description: This is the general header file. * Version: */ #ifndef GHEADER_H_ #define GHEADER_H_ #include "SDL/SDL.h" #include "SDL/SDL_image.h" #include "SDL/SDL_ttf.h" #include "Variables.h" #include "Types.h" #include "Core.h" #endif /* GHEADER_H_ */ [/mw_shl_code] 最后在基本构架的最后,我们把main加上。main里面要定义个叫screen的SDL_Surface,就是最底层的窗口的那层。 mainGame.cpp [mw_shl_code=cpp,true]/* * mainGame.cpp * * Created on: 2013-06-26 * Author: scropioczn * Description: This is the source file containing main function of the game. * Version: pre-alpha */ //SDL libraries #include "SDL/SDL.h" #include "SDL/SDL_image.h" #include "SDL/SDL_ttf.h" //C/C++ libraries #include <string> //General header file #include "GHeader.h" //Object declarations SDL_Surface *screen; int main(int argc, char *args[]) { //Creating objects using dynamic memory. //Initialization if(init() == false) { return 1; } bool quit = false; while(quit == false) { //Update update(); //Render render(); } //Clean up cleanUp(); return 0; } [/mw_shl_code] 正如诸位所看到的,main里面会变得非常有条理。设计理念自认使用到了Abstraction,笑@@33!! 那么至此,主要框架就完成了(其实还差个Core.cpp……下次再搞,不打紧)。 3.时间帧数处理(框架的扩充) 游戏里很重要的一个环节就是fps。有了稳定的fps才能有流畅的游戏。 为了实现这一目标,建立Timer.h 与 Timer.cpp Timer.h [mw_shl_code=cpp,true]/* * Timer.h * * Created on: 2013-06-27 * Author: scropioczn * Description: This is the header file of the Timer class. * Version: */ #ifndef TIMER_H_ #define TIMER_H_ #include "SDL/SDL.h" #include "SDL/SDL_image.h" #include "SDL/SDL_ttf.h" class Timer { private: //timer variables int start_tick; //start time int cur_tick; //current time public: //Constructor and destructor Timer(); ~Timer(); //----------Gets-----------// //----------Sets-----------// void start(); //start timer void regulate(); //regulate fps }; #endif /* TIMER_H_ */[/mw_shl_code] 在Timer.h里面,两个变量:起始时间与当前时间。两个函数:开始时间与控制fps。 Timer.cpp [mw_shl_code=cpp,true]/* * Timer.cpp * * Created on: 2013-06-27 * Author: scropioczn * Description: This is the source file for the Timer class. * Version: */ //SDL libraries #include "SDL/SDL.h" #include "SDL/SDL_image.h" #include "SDL/SDL_ttf.h" //C/C++ libraries #include <string> //Own header file #include "Timer.h" //Linked header files #include "Variables.h" //external objects //external variables //Definitions Timer::Timer() { start_tick = 0; cur_tick = 0; } Timer::~Timer() { } void Timer::start() { start_tick = SDL_GetTicks(); } void Timer::regulate() { cur_tick = SDL_GetTicks(); if((cur_tick - start_tick) < ELAPSED_TIME) { SDL_Delay(ELAPSED_TIME - (cur_tick - start_tick)); } } [/mw_shl_code] 在Variables.h中规定的ELAPSED_TIME就是每帧的时间,就是1000/FRAME_PER_SECOND。 然后在GHeader.h里加上Timer.h。 接下来把Timer加入main里面。 mainGame.cpp [mw_shl_code=cpp,true]/* * mainGame.cpp * * Created on: 2013-06-26 * Author: scropioczn * Description: This is the source file containing main function of the game. * Version: pre-alpha */ //SDL libraries #include "SDL/SDL.h" #include "SDL/SDL_image.h" #include "SDL/SDL_ttf.h" //C/C++ libraries #include <string> //General header file #include "GHeader.h" //Object declarations Timer *timer; SDL_Surface *screen; int main(int argc, char *args[]) { //Creating objects using dynamic memory. timer = new Timer(); //Initialization if(init() == false) { return 1; } bool quit = false; while(quit == false) { timer->start(); //Update update(); //Render render(); timer->regulate(); } //Clean up cleanUp(); return 0; } [/mw_shl_code] 关于Timer的destructor,将会放到Core里面的cleanUp()函数中。这个在之后做Core.cpp的时候与其他object一起放进去。 4.公用函数(Utility functions) 每个SDL游戏都要用到的函数:显示图片(applySurface),装载图片(loadImage),和把背景设置为透明(setColorKey)(在lazy foo的教程里,第一个和第三个是在一起的,不过我分开来了,是以防图片背景色不同。) 创建Utility.h与Utility.cpp Utility.h [mw_shl_code=cpp,true]/* * Utility.h * * Created on: 2013-06-27 * Author: scropioczn * Description: This is the header file for declarations of utility functions. * Version: */ #ifndef UTILITY_H_ #define UTILITY_H_ #include "SDL/SDL.h" #include "SDL/SDL_image.h" #include "SDL/SDL_ttf.h" void applySurface(int x, int y, SDL_Surface *src, SDL_Surface *dest, SDL_Rect *clip); SDL_Surface *loadImage(std::string filename); void setColorKey(SDL_Surface *the_surface, Uint8 red, Uint8 green, Uint8 blue); #endif /* UTILITY_H_ */ [/mw_shl_code] Utility.cpp [mw_shl_code=cpp,true]/* * Utility.cpp * * Created on: 2013-06-27 * Author: scropioczn * Description: This is the source file which contains the definitions of the utility functions. * Version: */ //SDL libraries #include "SDL/SDL.h" #include "SDL/SDL_image.h" #include "SDL/SDL_ttf.h" //C/C++ libraries #include <string> //Own header file #include "Utility.h" //Linked header files //external objects //external variables //Definitions void applySurface(int x, int y, SDL_Surface *src, SDL_Surface *dest, SDL_Rect *clip) { SDL_Rect offset; offset.x = x; offset.y = y; SDL_BlitSurface(src, clip, dest, &offset); } SDL_Surface *loadImage(std::string filename) { SDL_Surface *loaded_image = NULL; SDL_Surface *optimized_image = NULL; loaded_image = IMG_Load(filename.c_str()); if (loaded_image != NULL) { optimized_image = SDL_DisplayFormat(loaded_image); SDL_FreeSurface(loaded_image); } return optimized_image; } void setColorKey(SDL_Surface *the_surface, Uint8 red, Uint8 green, Uint8 blue) { if (the_surface != NULL) { SDL_SetColorKey(the_surface, SDL_SRCCOLORKEY, SDL_MapRGB(the_surface->format, red, green, blue)); } } [/mw_shl_code] 5. 球们(Ball Class) 基本的每个SDL的必需都差不多搞定了,接下来我想了想还是先把球的class搞出来吧。 创建Ball.h 与 Ball.cpp Ball.h [mw_shl_code=cpp,true]/* * Ball.h * * Created on: 2013-06-27 * Author: scropioczn * Description: This is the header file of the Ball class. * Version: */ #ifndef BALL_H_ #define BALL_H_ #include "SDL/SDL.h" #include "SDL/SDL_image.h" #include "SDL/SDL_ttf.h" #include "Types.h" class Ball { private: //Ball structure struct theBall { SDL_Surface *ball_image; //SDL_Rect offset; BallColor color; } the_ball[5]; int ball_width; int ball_height; public: //Constructor and destructor Ball(); ~Ball(); //Load images int loadBalls(); //----------Gets-----------// //get the offsets of a ball int getBallWidth(); int getBallHeight(); //----------Sets-----------// //Set color void setColor(); //render void render(BallColor the_color, int x, int y); //alpha test void render(); }; #endif /* BALL_H_ */[/mw_shl_code] class中定义了一个结构体,因为一个球有两项属性:Surface和颜色。由于目前球的颜色只有5种,所以定义了5个instance。之后的两个变量是球的尺寸,根据图片来定。 由于在本程序中球只是在相应位置显示出来,没有移动之类的,所以只定义了render。两个get是取得球的尺寸。 最后一个render用于第一次调试,具体见下。 Ball.cpp [mw_shl_code=cpp,true]/* * Ball.cpp * * Created on: 2013-06-28 * Author: scropioczn * Description: This is the source file of the Ball class definitions. * Version: */ //SDL libraries #include "SDL/SDL.h" #include "SDL/SDL_image.h" #include "SDL/SDL_ttf.h" //C/C++ libraries #include <string> //Own header file #include "Ball.h" //Linked header files #include "Utility.h" //external objects extern SDL_Surface *screen; //external variables //Definitions Ball::Ball() { for (int i = 0; i < 5; i++) { the_ball.ball_image = NULL; //the_ball.offset = NULL; the_ball.color = colorless; } ball_height = 0; ball_width = 0; } Ball::~Ball() { for (int i = 0; i < 5; i++) { SDL_FreeSurface(the_ball.ball_image); } } int Ball::loadBalls() { the_ball[0].ball_image = loadImage("data/ball/red.png"); the_ball[1].ball_image = loadImage("data/ball/yellow.png"); the_ball[2].ball_image = loadImage("data/ball/blue.png"); the_ball[3].ball_image = loadImage("data/ball/green.png"); the_ball[4].ball_image = loadImage("data/ball/purple.png"); for (int c_b = 0; c_b < 5; c_b++) { setColorKey(the_ball[c_b].ball_image, 0xFF, 0xFF, 0xFF); } int i = 0; while (i < 5) { if (the_ball.ball_image == NULL) { return -1; } i++; } ball_width = the_ball[0].ball_image->w; ball_height = the_ball[0].ball_image->h; return 0; } void Ball::setColor() { the_ball[0].color = red; the_ball[1].color = yellow; the_ball[2].color = blue; the_ball[3].color = green; the_ball[4].color = purple; } int Ball::getBallWidth() { return ball_width; } int Ball::getBallHeight() { return ball_height; } void Ball::render(BallColor the_color, int x, int y) { switch (the_color) { case red: applySurface(x, y, the_ball[0].ball_image, screen, NULL); break; case yellow: applySurface(x, y, the_ball[1].ball_image, screen, NULL); break; case blue: applySurface(x, y, the_ball[2].ball_image, screen, NULL); break; case green: applySurface(x, y, the_ball[3].ball_image, screen, NULL); break; case purple: applySurface(x, y, the_ball[4].ball_image, screen, NULL); break; default: ; break; } void Ball::render() { for(int i = 0; i < 5; i ++) { applySurface(50 + 50 * i, 100, the_ball.ball_image, screen, NULL); } } }[/mw_shl_code] 6.第一次调试:球们是否能正常显示 为了测试能否正常显示我们定义的5个球,我们需要完善Core。 init里面先将SDL初始化,屏幕初始化加上,然后将球的初始化加上。 update里面先加上SDL_QUIT,否则程序关不了@100#,也就意味着要用到SDL_Event,在mainGame里定义event,然后在Core.cpp里面用extern。 render里面把Ball的第二个render()加上,别忘了翻转屏幕。 Core.cpp [mw_shl_code=cpp,true]/* * Core.cpp * * Created on: 2013-06-28 * Author: scropioczn * Description: This is the source file of the core functions. * Version: */ //SDL libraries #include "SDL/SDL.h" #include "SDL/SDL_image.h" #include "SDL/SDL_ttf.h" //C/C++ libraries #include <string> //Own header file #include "Core.h" //Linked header files #include "Variables.h" #include "Types.h" #include "Ball.h" #include "Timer.h" //external objects extern Timer *timer; extern Ball *ball; //external variables extern SDL_Surface *screen; extern SDL_Event event; //Definitions bool init() { //SDL general initialization if(SDL_Init(SDL_INIT_EVERYTHING) == -1) { return false; } //screen initialization screen = SDL_SetVideoMode(SCREEN_WIDTH, SCREEN_HEIGHT, SCREEN_BPP, SDL_SWSURFACE); if(screen == NULL) { return false; } //window settings SDL_WM_SetCaption("Mastermind", NULL); //-------------------Loadings--------------------// //balls if(ball->loadBalls() == -1) { return false; } ball->setColor(); return true; } bool update() { while(SDL_PollEvent(&event)) { if(event.type == SDL_QUIT) { return false; } } return true; } void render() { //alpha test //screen set as a background SDL_FillRect(screen, &screen->clip_rect, SDL_MapRGB(screen->format, 0xFF, 0xFF, 0xFF)); //show balls ball->render(); SDL_Flip(screen); } void cleanUp() { delete timer; delete ball; SDL_FreeSurface(screen); SDL_Quit(); } [/mw_shl_code] 然后是更新后的mainGame.cpp mainGame.cpp [mw_shl_code=cpp,true]/* * mainGame.cpp * * Created on: 2013-06-26 * Author: scropioczn * Description: This is the source file containing main function of the game. * Version: alpha test 01 */ //SDL libraries #include "SDL/SDL.h" #include "SDL/SDL_image.h" #include "SDL/SDL_ttf.h" //C/C++ libraries #include <string> //General header file #include "GHeader.h" //Object declarations Timer *timer; Ball *ball; SDL_Surface *screen; SDL_Event event; int main(int argc, char *args[]) { //Creating objects using dynamic memory. timer = new Timer(); ball = new Ball(); //Initialization if(init() == false) { return 1; } bool quit = false; while(quit == false) { timer->start(); //Update if(update() == false) { quit = true; } //Render render(); timer->regulate(); } //Clean up cleanUp(); return 0; } [/mw_shl_code] 本人调试正常显示。所用的图片文件在附件里。 attach://205322.zip 【本内容已隐藏,回复后刷新可见哦】查看回复简单的自动寻路实现(真的超简单哦~)
作者:dxxds
[i=s] 本帖最后由 dxxds 于 2013-4-21 07:27 编辑 最近想写个战棋游戏(本人酷爱战棋) 所以先赶紧撸了一个自动寻路的代码 有兴趣的就看吧 #include "micropather.h" #include <stdio.h> #include <math.h> #include <windows.h> using namespace micropather; //地图的长宽 x是列,y是行; #define X_MAP 15 #define Y_MAP 10 const int g_map[X_MAP * Y_MAP + 1] = { 0,0,1,1,1,0,0,0,1,1,0,0,1,0,1, 0,1,0,0,0,0,0,1,1,0,0,0,0,0,1, 0,0,1,0,1,1,0,0,0,1,1,0,1,0,1, 1,0,1,0,0,0,1,1,0,1,1,0,0,0,1, 1,0,1,0,1,0,0,1,0,0,0,0,1,0,0, 0,0,0,1,0,1,0,1,1,0,1,1,1,0,1, 0,0,0,0,0,1,0,0,0,1,1,0,0,0,1, 0,0,0,1,1,1,1,1,0,0,1,0,1,0,1, 1,0,0,0,1,0,0,0,1,0,1,0,1,1,1, 0,0,1,0,0,0,1,0,0,0,1,0,0,0,0, }; //可以试着改变上面的地图看实际效果 void gotoxy(int x,int y) { COORD point; point.X=x;point.Y=y; SetConsoleCursorPosition(GetStdHandle(STD_OUTPUT_HANDLE),point); } class Cway_find : public Graph { private: Cway_find(const Cway_find& ); void operator = (const Cway_find& ); MicroPather* m_pather; int plr_x, plr_y; std::vector<void*> m_path; public: Cway_find() : m_pather ( 0 ) { m_pather = new MicroPather(this); } virtual ~Cway_find() { delete m_pather; } int X() { return plr_x; } int Y() { return plr_y; } unsigned Checksum() { m_pather->Checksum(); } void ClearPath() { m_path.resize( 0 ); } int Passable(int nx, int ny) { if( nx >= 0 && nx <X_MAP && ny >= 0 && ny <Y_MAP) { int index = ny * X_MAP + nx; int c = g_map[index]; if ( c == 0) return 1; //可通行; } return 0; //不可通行; } void SetStartPos(int x, int y) { plr_x = x; plr_y = y; } int SetEndPos(int nx, int ny) { int result = 0; if(Passable(nx, ny) == 1) { float totalCost; result = m_pather->Solve(XYToNode(plr_x, plr_y), XYToNode(nx, ny), &m_path, &totalCost); if(result == MicroPather::SOLVED) { plr_x = nx; plr_y = ny; } } return result; } //把索引号转化为XY坐标; void NodeToXY(void *node, int *x, int *y) { int index = (int)node; *y = index / X_MAP; *x = index - *y * X_MAP; } //把XY坐标转化为索引号; void* XYToNode(int x, int y) { return (void*)(y * X_MAP + x); } //最小代价估计函数,求A*算法中的h值; virtual float LeastCostEstimate(void *nodeStart, void *nodeEnd) { int xStart, yStart, xEnd, yEnd; NodeToXY(nodeStart, &xStart, &yStart); NodeToXY(nodeEnd, &xEnd, &yEnd); int dx = xStart - xEnd; int dy = yStart - yEnd; return (float)sqrt((double)(dx * dx) + (double)(dy * dy)); } virtual void AdjacentCost(void *node, std::vector<StateCost> *neighbors) { int x, y; //上下左右四个方向; const int dx[4] = {1, 0, -1, 0}; //4个方向上的x的变化; const int dy[4] = {0, -1, 0, 1}; //4个方向上的y的变化; const float cost[4] = {1.0f, 1.0f, 1.0f, 1.0f}; NodeToXY(node, &x, &y); for(int i = 0; i < 4; ++i) { int nx = x + dx; int ny = y + dy; //是否可行; int pass = Passable(nx, ny); if(pass == 1) { StateCost nodeCost = {XYToNode(nx, ny), cost}; neighbors->push_back(nodeCost); } } } virtual void PrintStateInfo(void *node) { int x, y; NodeToXY(node, &x, &y); system("pause>nul"); gotoxy(x*2,y); printf("☆"); gotoxy(0,12); printf("(%d,%d)",x,y); } void Print() { unsigned size = m_path.size(); int sum = X_MAP*Y_MAP; for (int i=0;i<sum;++i) { if(i>1 && (i)%X_MAP==0) printf("\n"); if(g_map==0) printf(" "); if (g_map==1) printf("■"); } for(unsigned k = 0; k < size; ++k) { PrintStateInfo(m_path[k]); } } }; int main() { Cway_find Cway_find; Cway_find.SetStartPos(0, 0); Cway_find.SetEndPos(14, 9); Cway_find.Print(); gotoxy(0,12); printf("到终点 10 秒后自动关闭程序"); Sleep(10000); return 0; } VS2008编译通过 以下是头文件下载链接 http://ishare.iask.sina.com.cn/f/36797563.html查看回复python读取EXCEL写入到XML大致操作代码
作者:fancymch
[i=s] 本帖最后由 fancymch 于 2013-4-10 12:16 编辑 咱最近在用PYTHON写EXCEL导出到XML工具。稍微写几个常用的代码,写的不好,希望大神勿喷!纯属个人喜好~~ #咱用了以下模块,可能有无用的~~ # -*- coding: utf-8 -*- import os import sys import re import win32com.client from INIFILE import INIFILE from xml.dom import minidom from xml.dom.minidom import Document from EXCEL import easyExcel #得到当前路径 curdir = os.path.abspath('.') >>>>curdir为当前你的.py所在的路径 #读取文件 inifile = INIFILE((curdir+'\\TaskTable.ini').decode('utf-8')) =====这里我用了网上写了一个CLASS类。 >>>>这里是.PY所在路径下的一个名为TaskTable的配置文件,用UTF-8读取,我的ini是保存的以UTF-8无BOM格式。 关于INI文件配置什么的,可以自己定义配置,这个我就不写了 #二维列表,作为读取EXCEL中单元格而存储。 G = [[0 for L in xrange(0,Lie)] for H in xrange(0,Hang)] print "Excel start" excelfile = easyExcel(xlsx) #这里我用了网上的EXCEL类,作用是打开EXCEL if excelfile.Init(): for i in xrange(0,Hang): for j in xrange(0,Lie): G[j] = excelfile.getCell(sheet, i+1, j+1) #这里把EXCEL中第sheet页中的X行Y列内容赋值到G[j]列表中,EXCEL中从1行1列。 #取整,去除格式,转化字符串 if isinstance(G[j],float): G[j] = int(round(G[j])) G[j] = '%d' %G[j] G[j] = '%s' %G[j] G[j] = G[j].replace("\n","\\n") G[j] = G[j].strip() G[j] = G[j].replace("None","") excelfile.close() print "Excel finish" #到这里EXCEL就完结了 #开始XML操作 doc = minidom.Document() tasks = doc.createElement("tasks") doc.appendChild(tasks) aaa = doc.createComment(u"这里是注释") #这里写注释 u的话可以排除直接用CMD运行的编码错误 tasks.appendChild(aaa) task = doc.createElement("task") #这里创建 task.setAttribute("id", G[0]) #这里写数据 tasks.appendChild(task) #这里添加 xmlText = doc.toprettyxml(indent = " ", newl = "\n", encoding = "utf-8") #这里写格式啥的 xmlFile = open(xml.decode('utf-8'), 'w') #这里打开XML文件,用UTF-8打开 xmlFile.write(xmlText) xmlFile.close() #XML操作结束 写到这里就差不多结束了。纯属个人喜好,望大神勿喷! 运行结果 <?xml version="1.0" encoding="utf-8"?> <tasks> <!--这里是注释--> <task id="10001"> </task> </tasks> 大致就这样。结束~~查看回复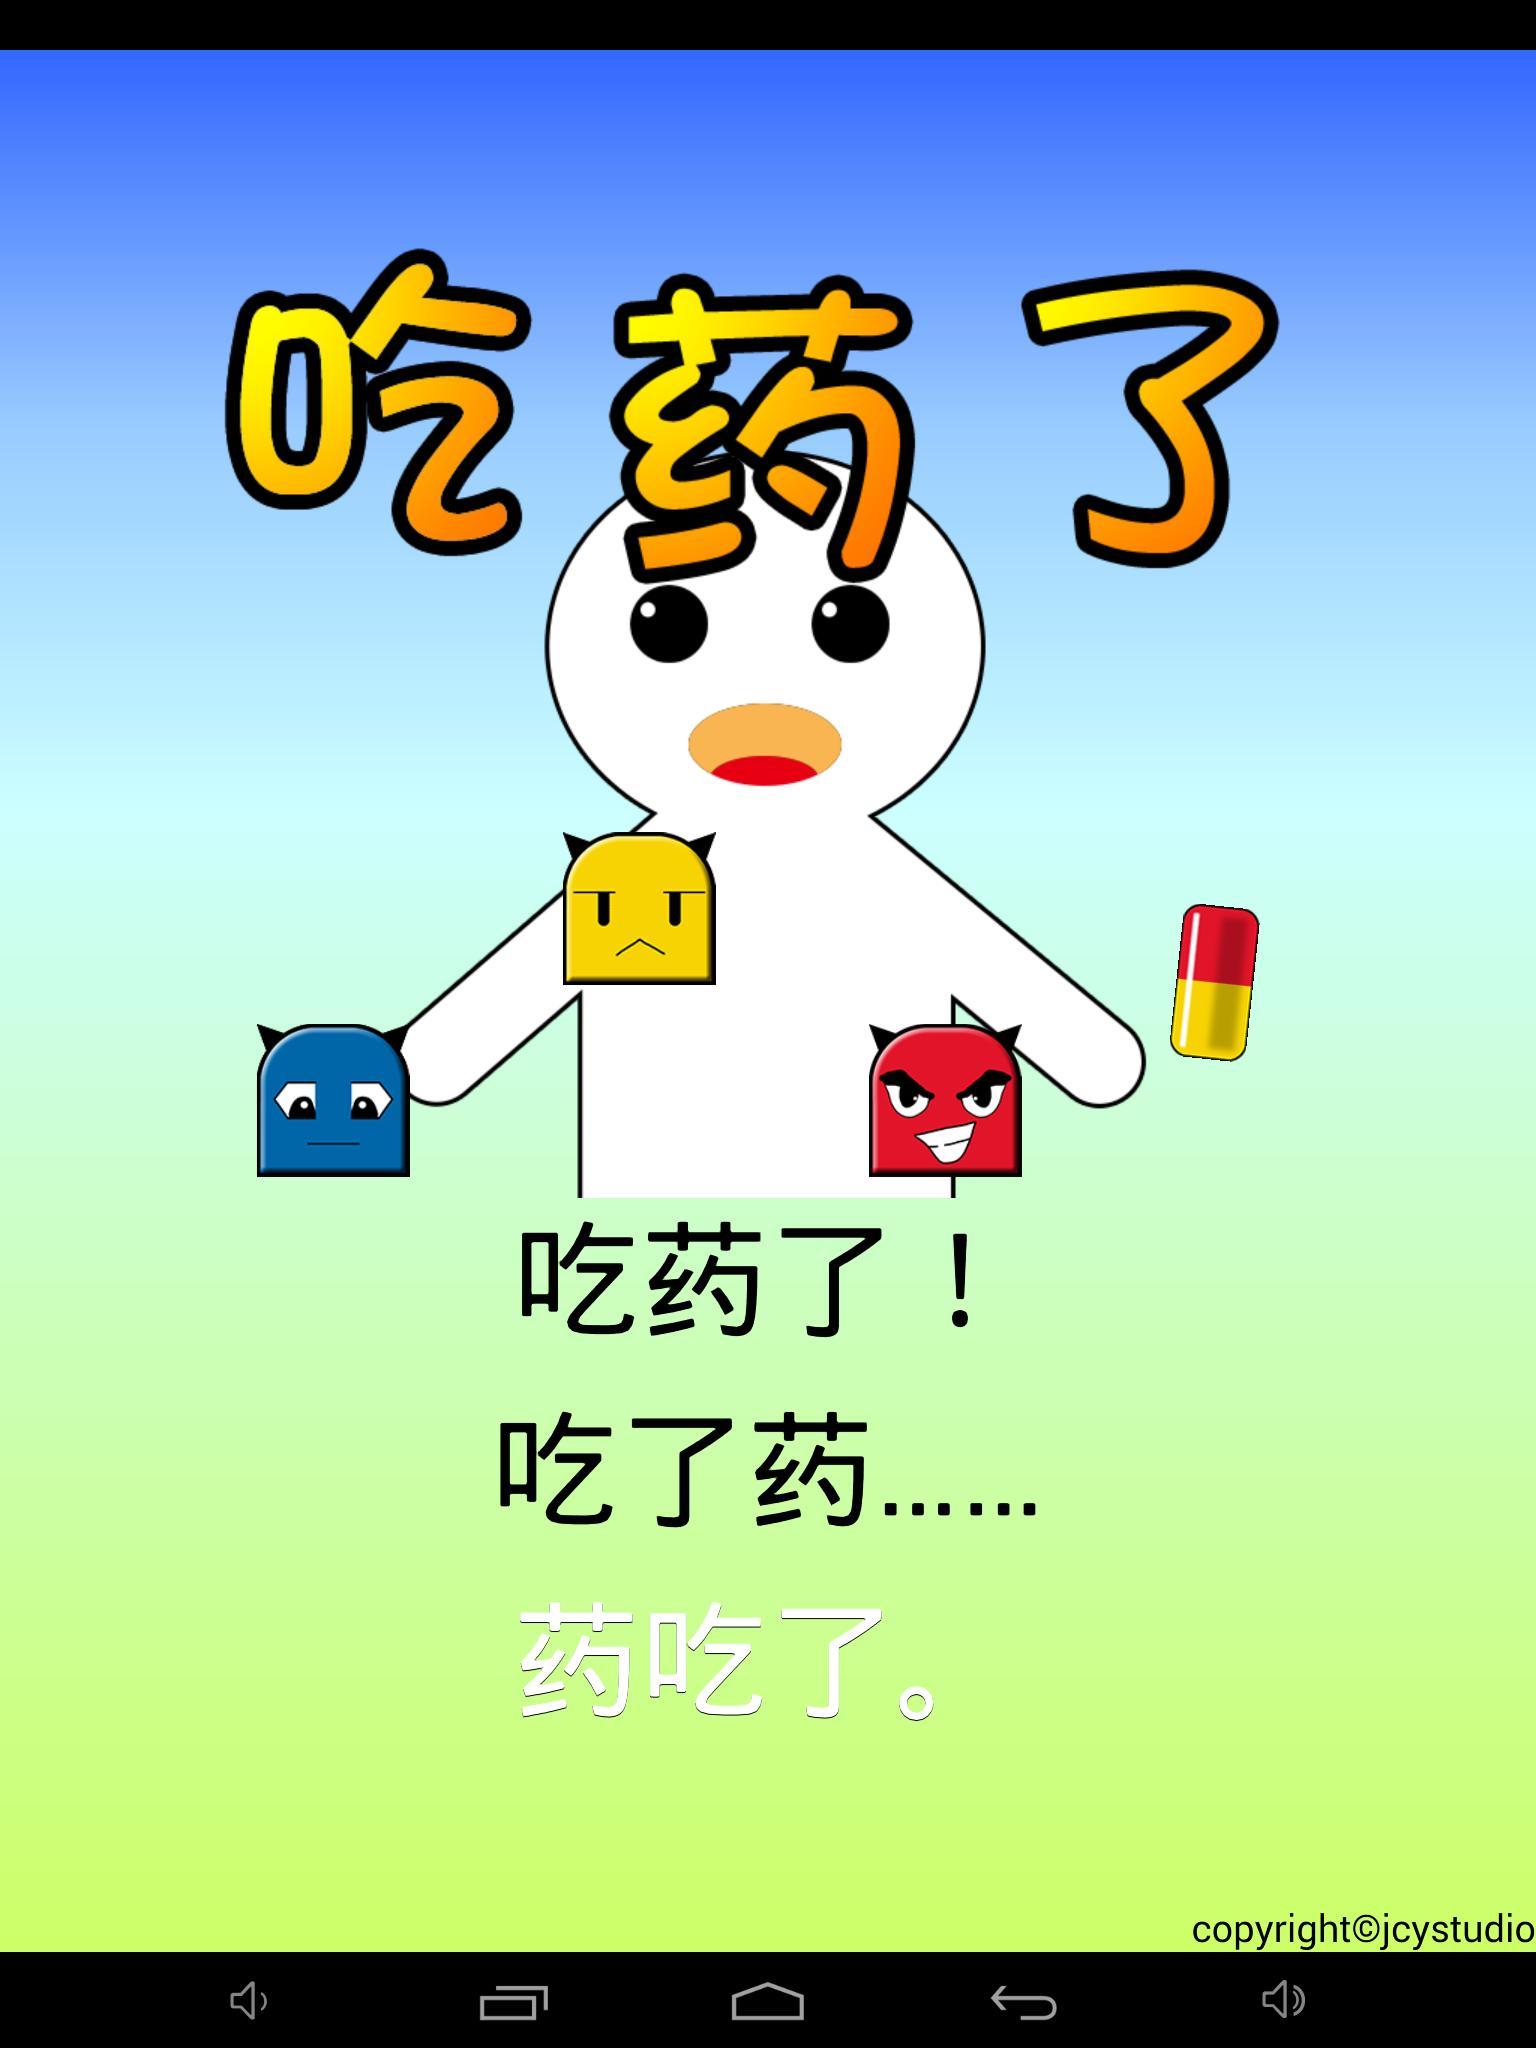
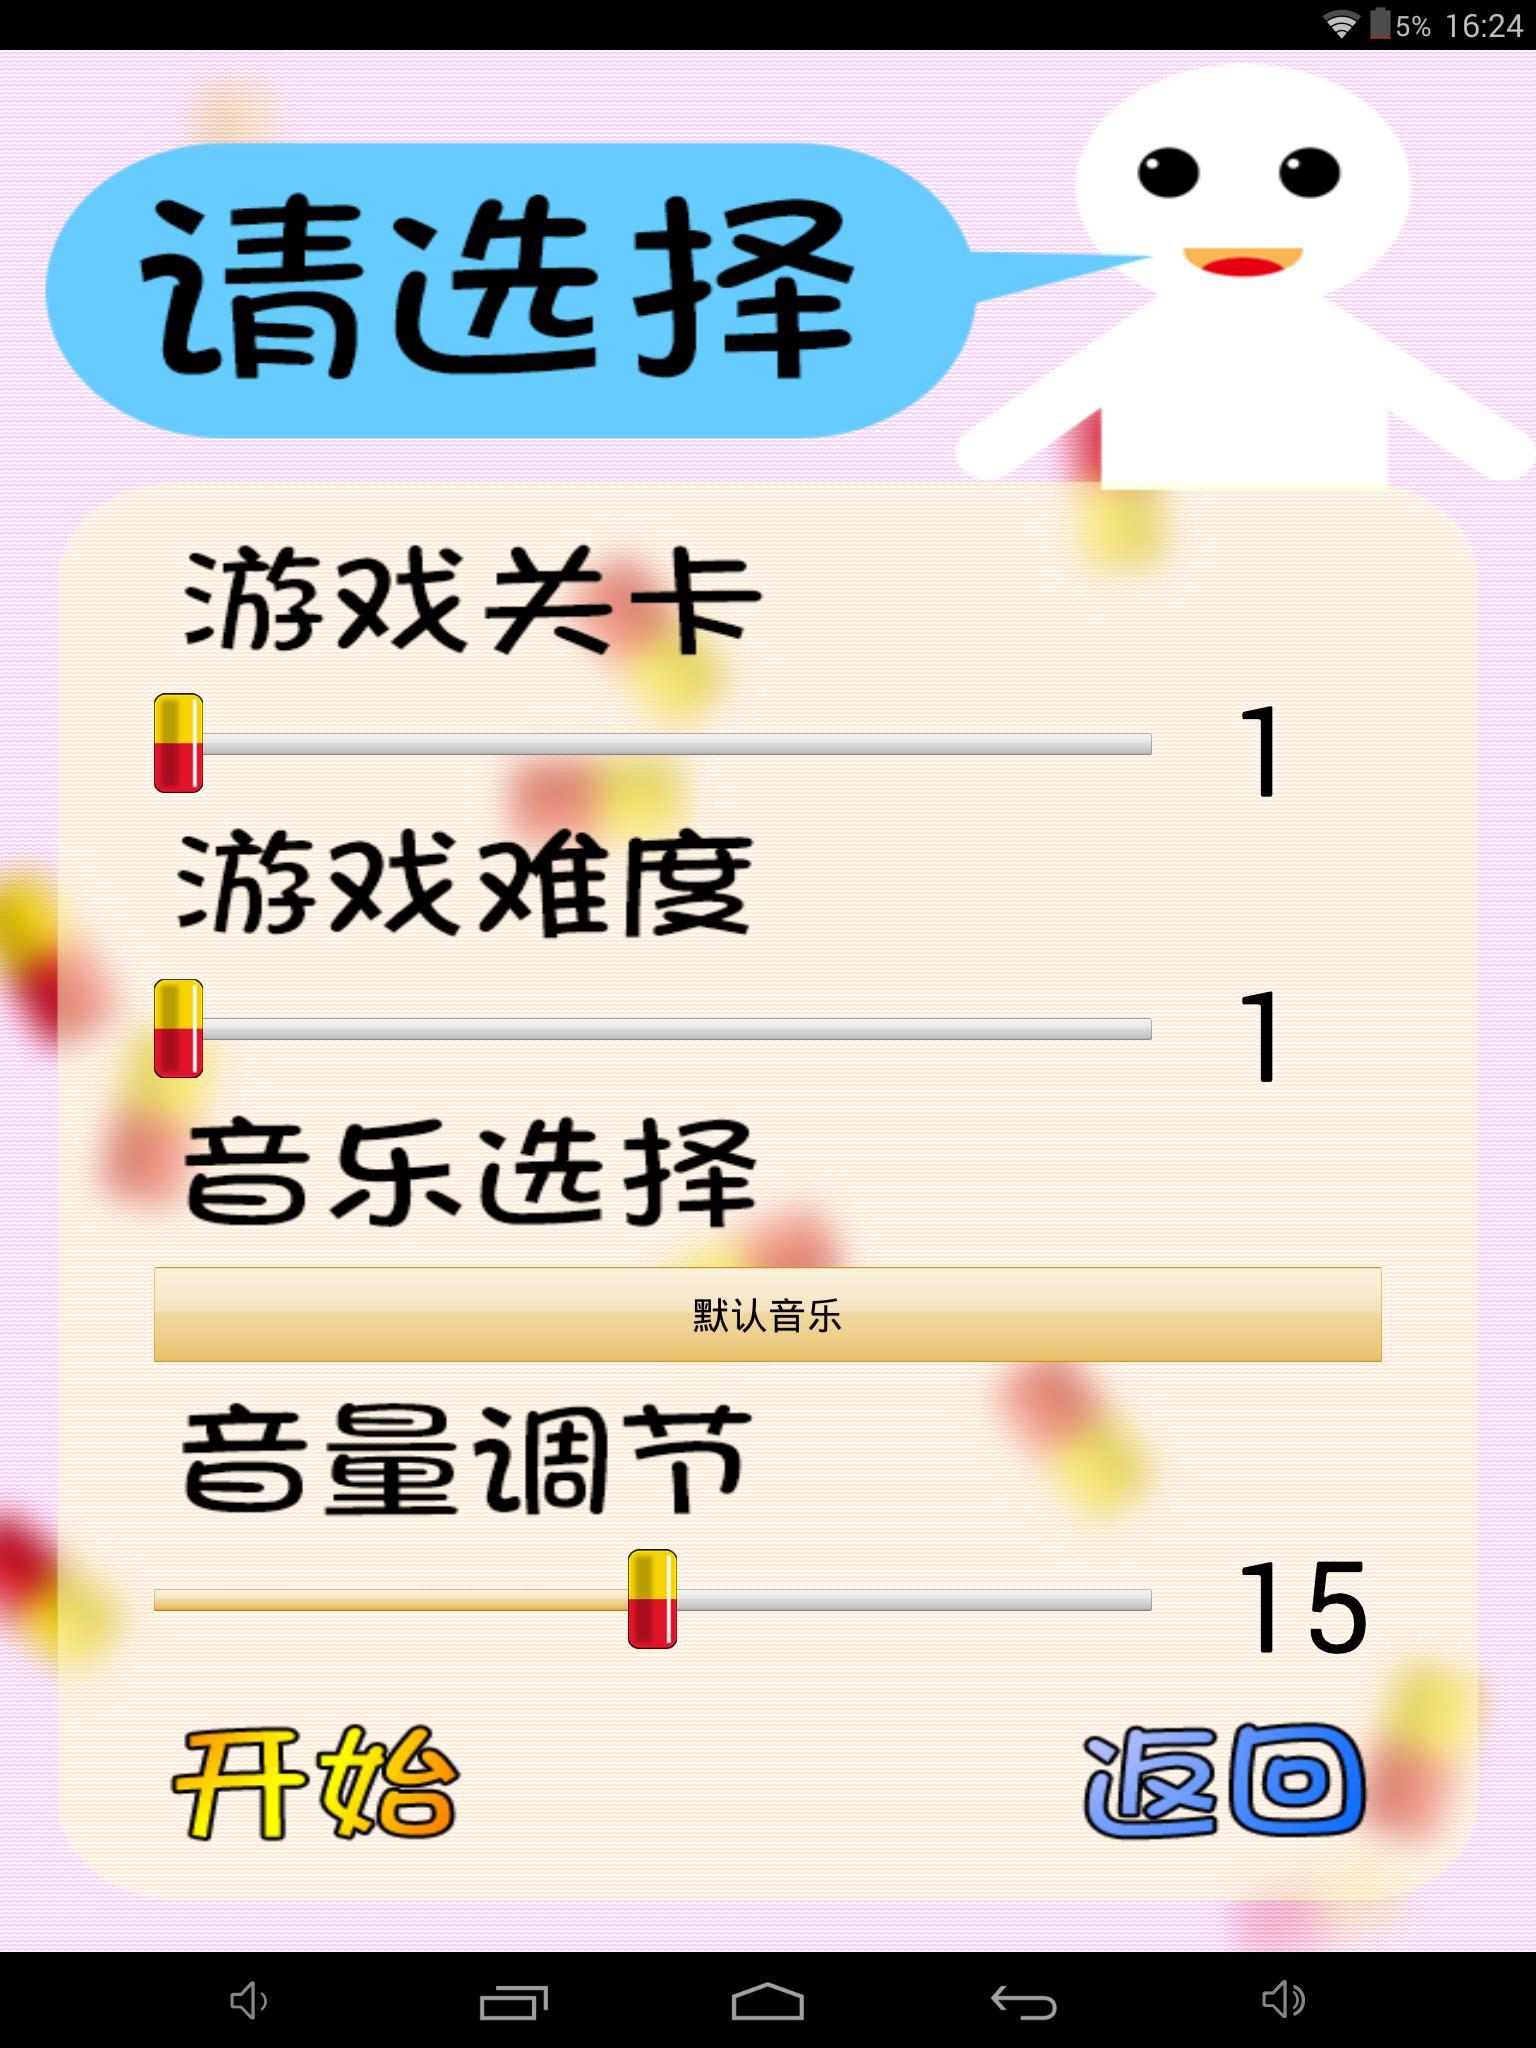
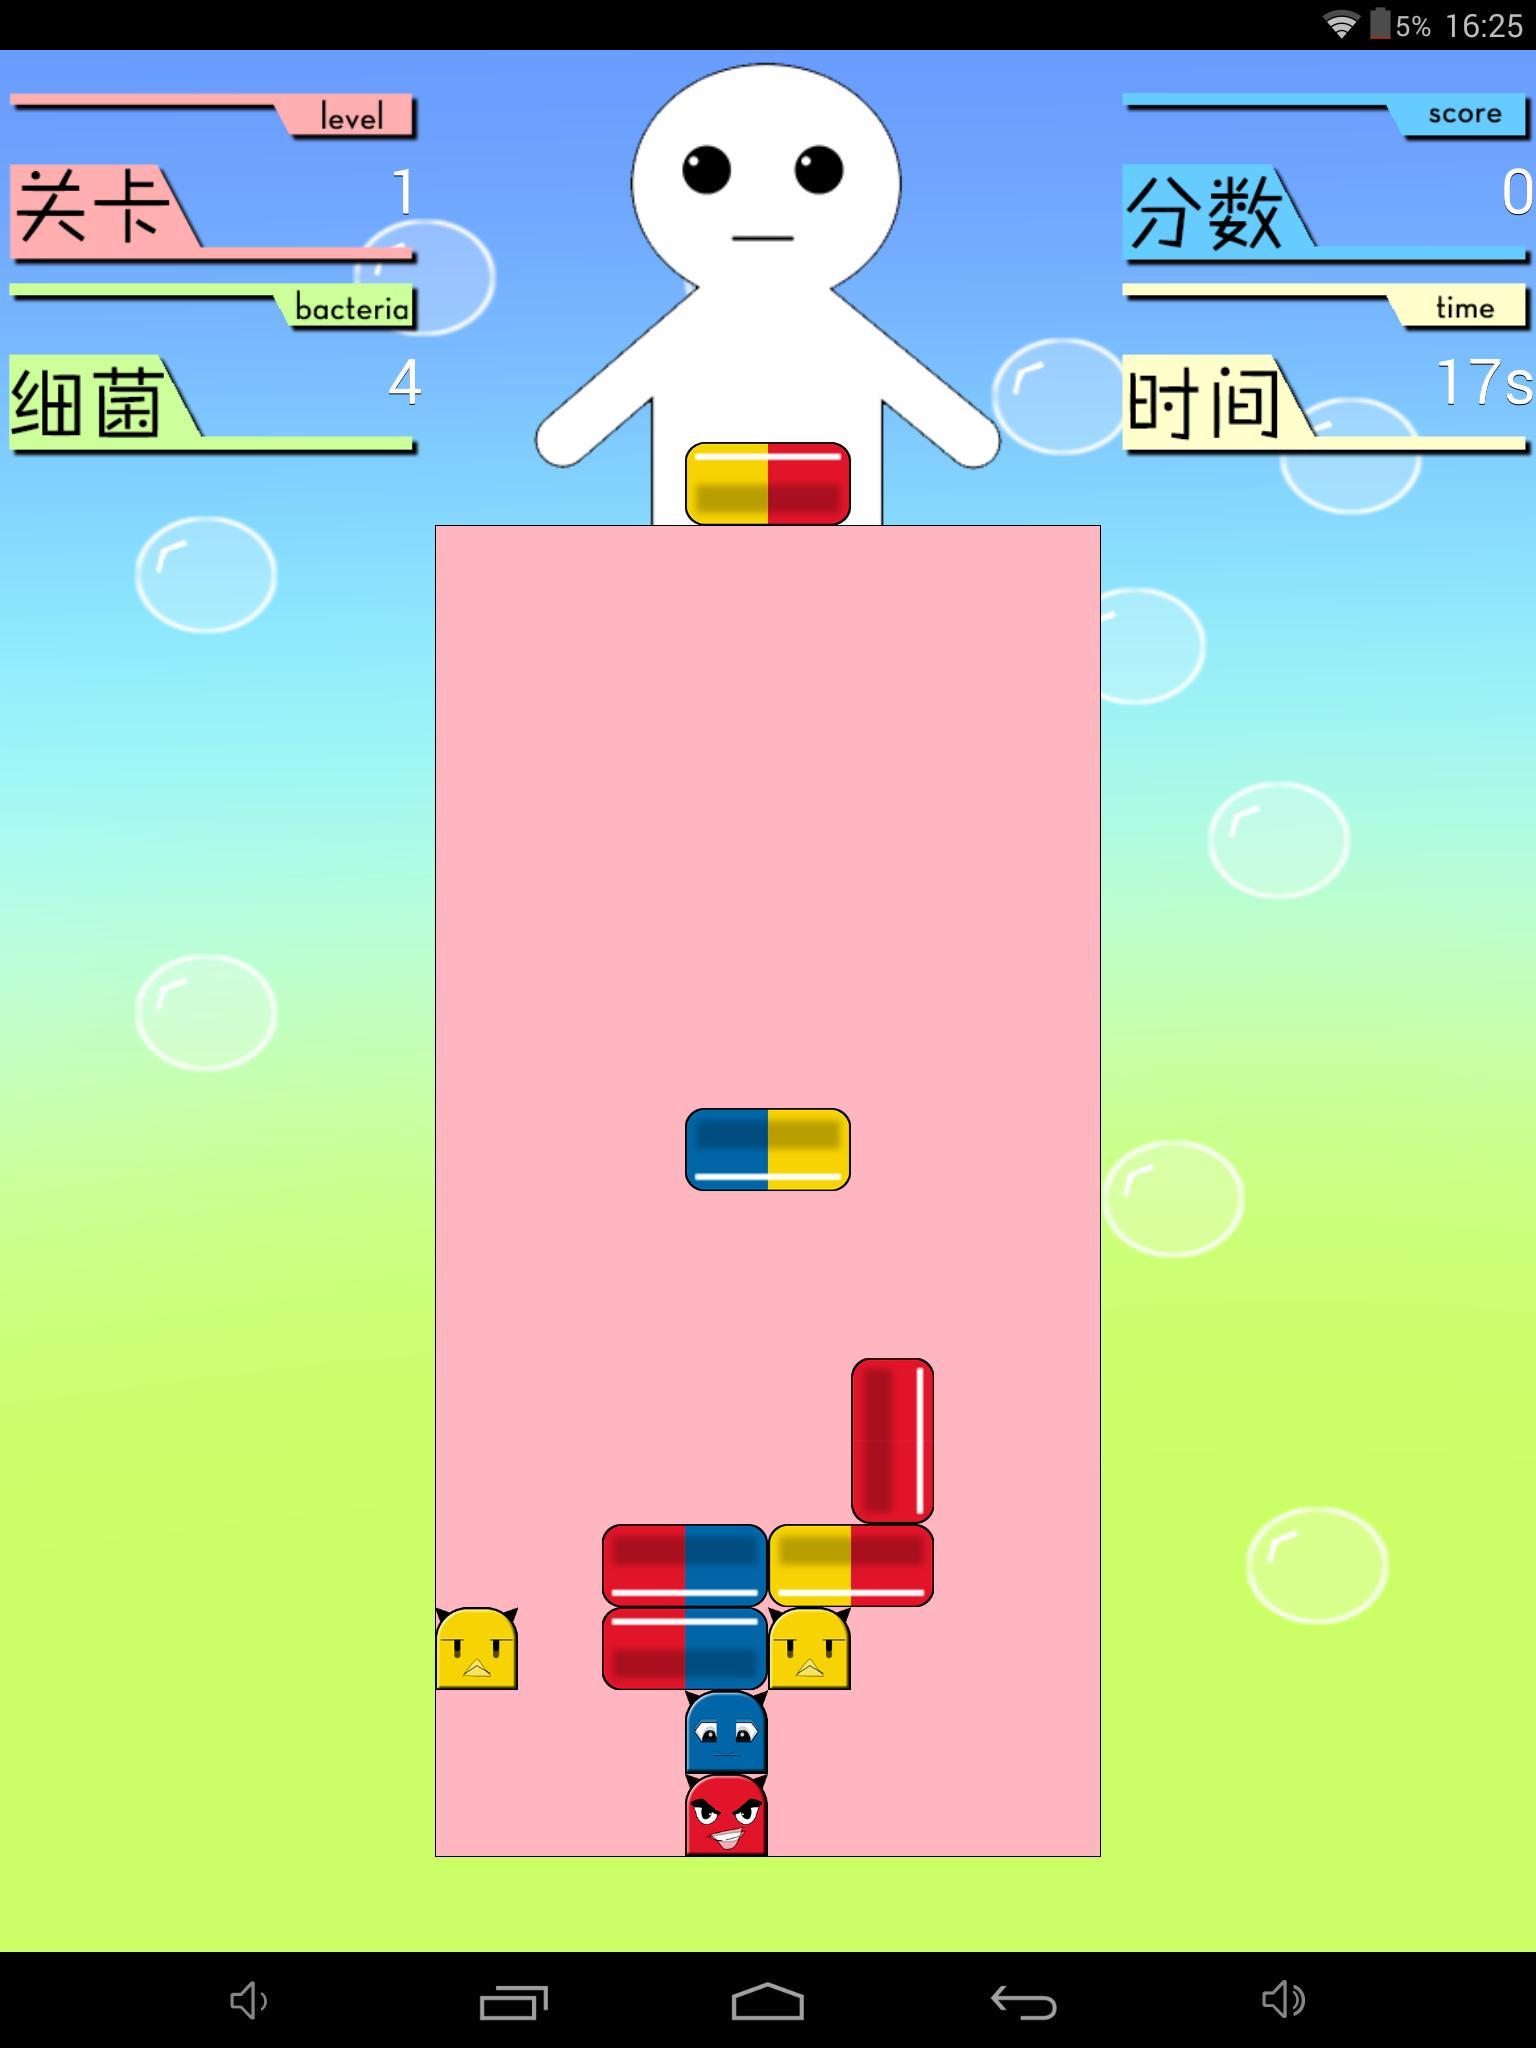
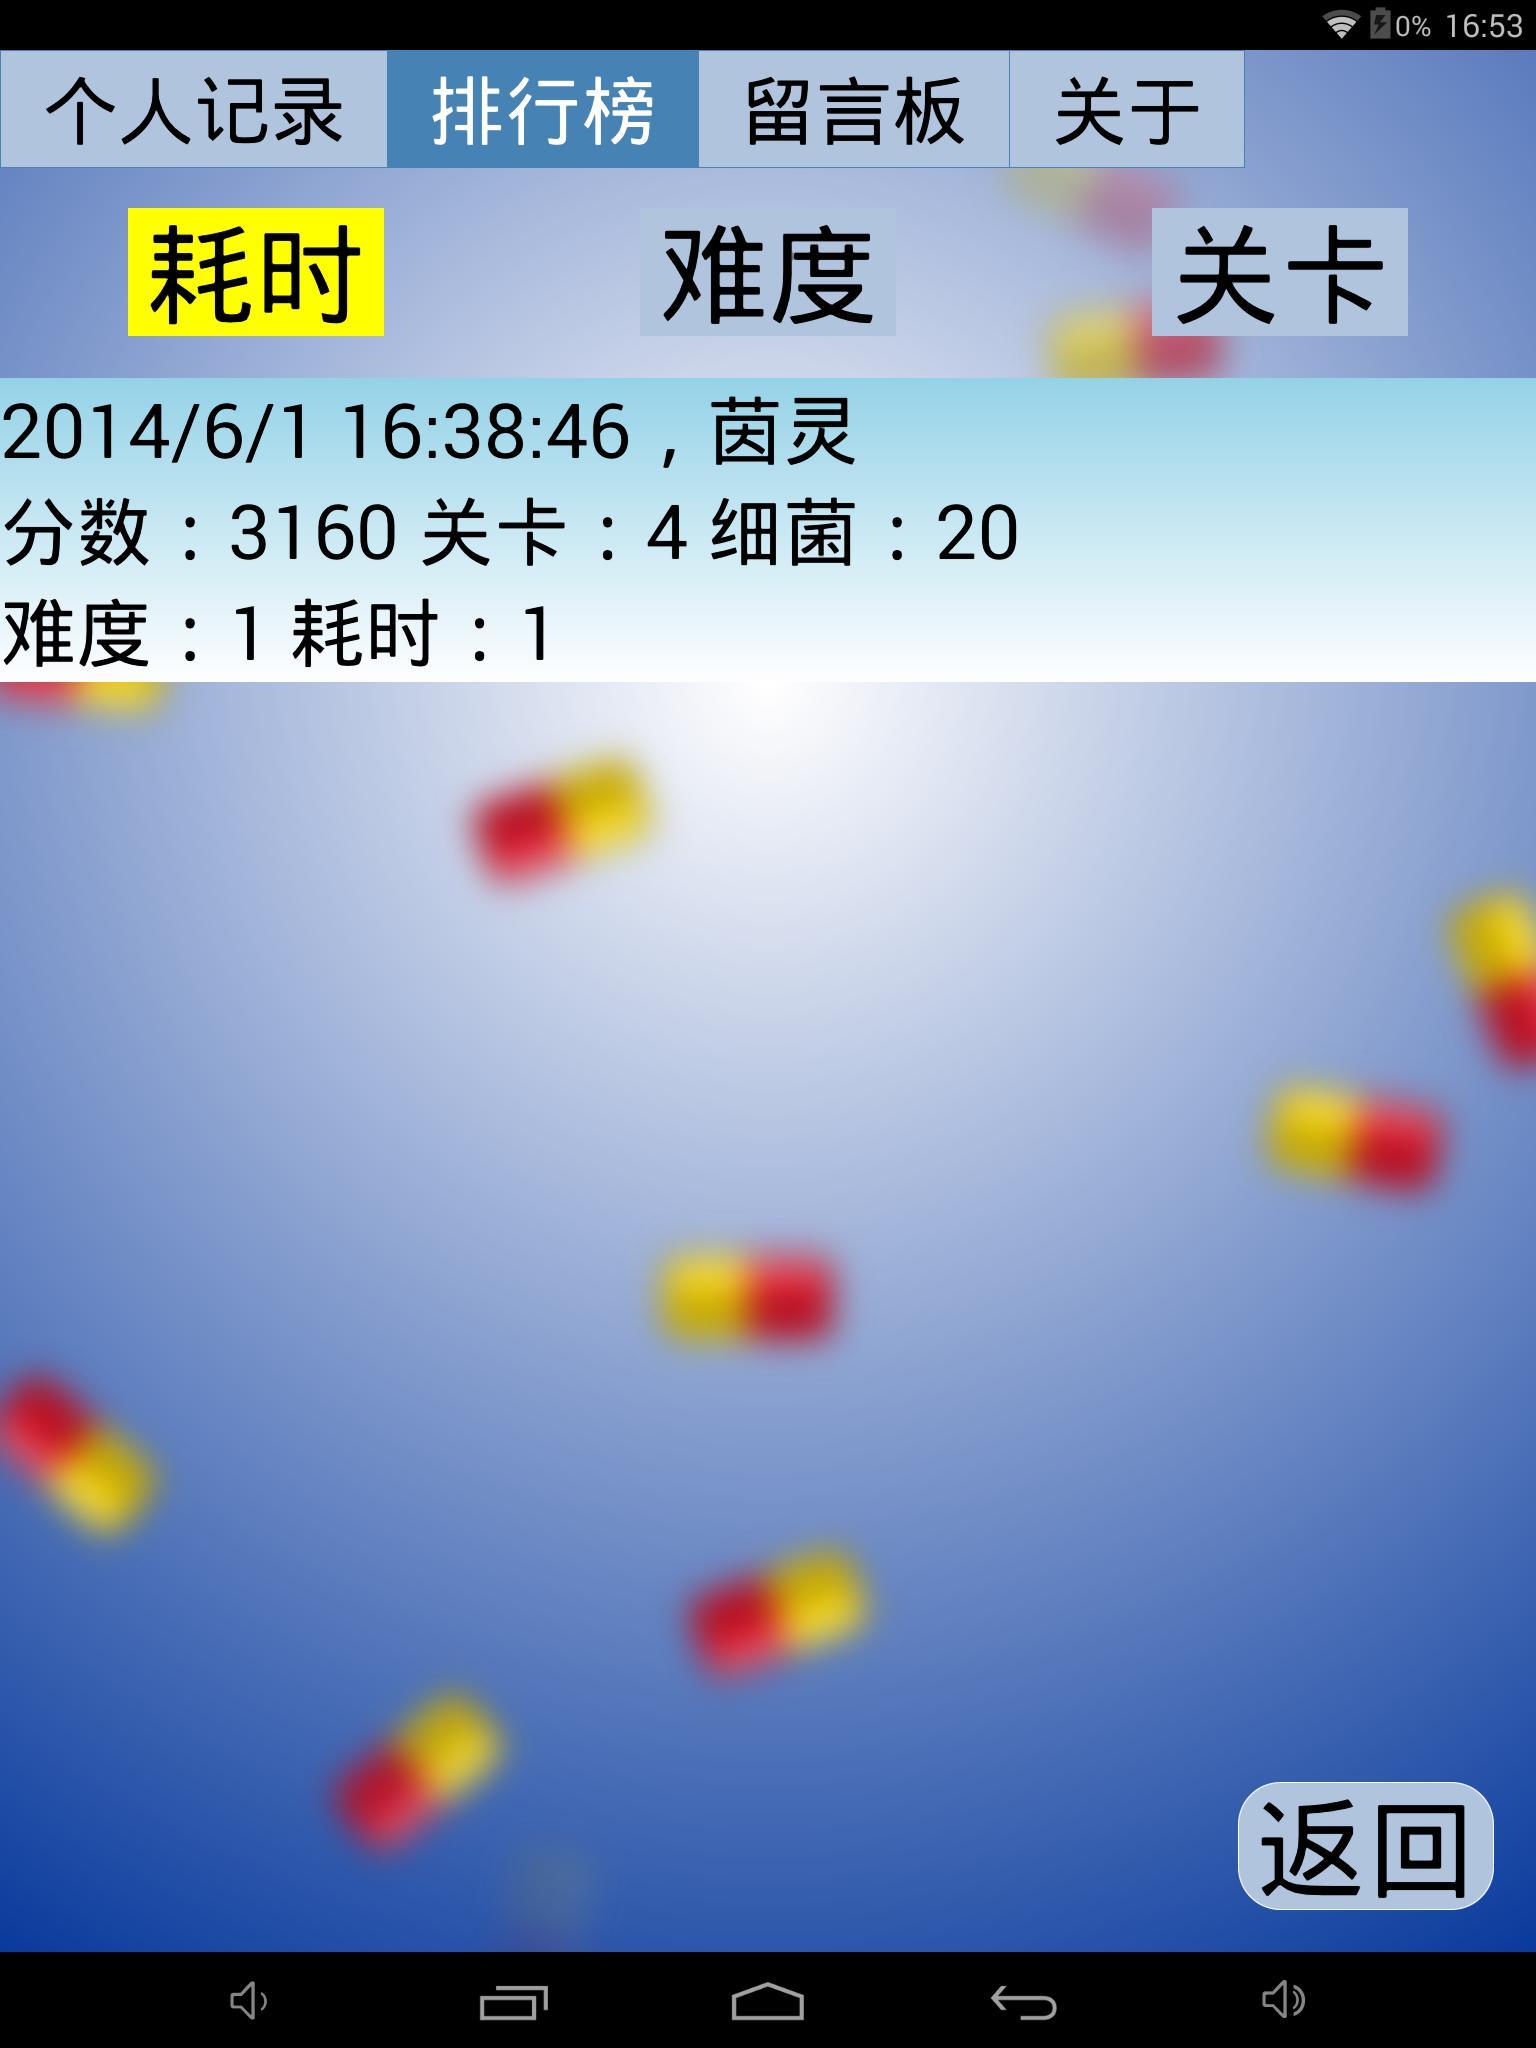 Android版: 游戏的下载地址:在这里呢→http://shouji.360tpcdn.com/140604/163bef427dc68ecee63e5ab9fcfaf241/com.jcystudio.takemedicine_1.apk iOS版: 即将来袭 感觉学习生活很无聊?没错!你该吃药了! 《吃药了》是一款休闲益智的Android游戏应用。经典的玩法加上独具匠心的回放功能,让你在工作学习之余既体会到了乐趣,又能够和你的小伙伴PK,一举两得! 本游戏是由JCY一人独立完成,画面精美、玩法简单。是您工作学习之余的好玩伴!敬请关注JCY的最新独立游戏作品! 最后低调地丢下我的博客地址:http://blog.csdn.net/gamesdev,欢迎大家多踩踩。